
Tasty and Easy Bloomer Bread Recipe for Everyone
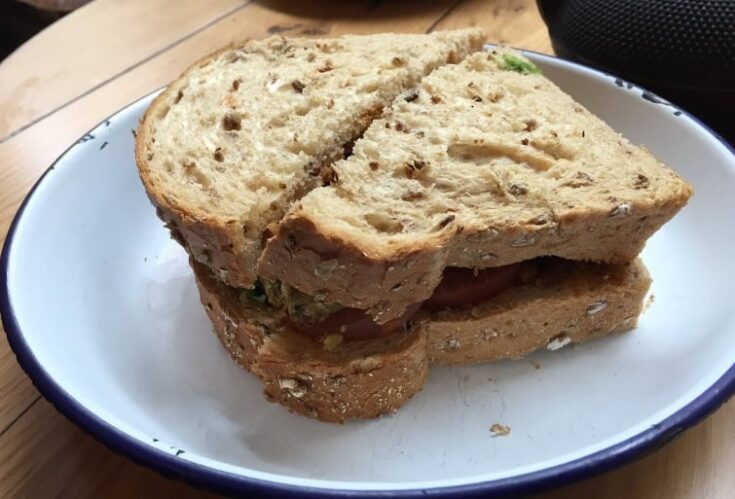
We first experienced bloomer bread when having lunch at the Barker Tea House in Cardiff, Wales. The bloomer bread was used for our sandwiches – one was a Jackfruit option, while the other was a baked falafel variety.
The Places Where We Go contains affiliate links and is a member of the Amazon Services LLC Associates Program. As an Amazon Associate, we earn from qualifying purchases at no extra cost to you when you purchase using one of these Amazon links. Read our disclaimer and privacy policy for more information.
Table of Contents
- What is Bloomer Bread
- Where does Bloomer Bread get its name?
- Bloomer Bread Ingredients Information
- Proofing Your Bloomer Bread
- Shape Your Bloomer Bread
- Bloomer Bread Recipe
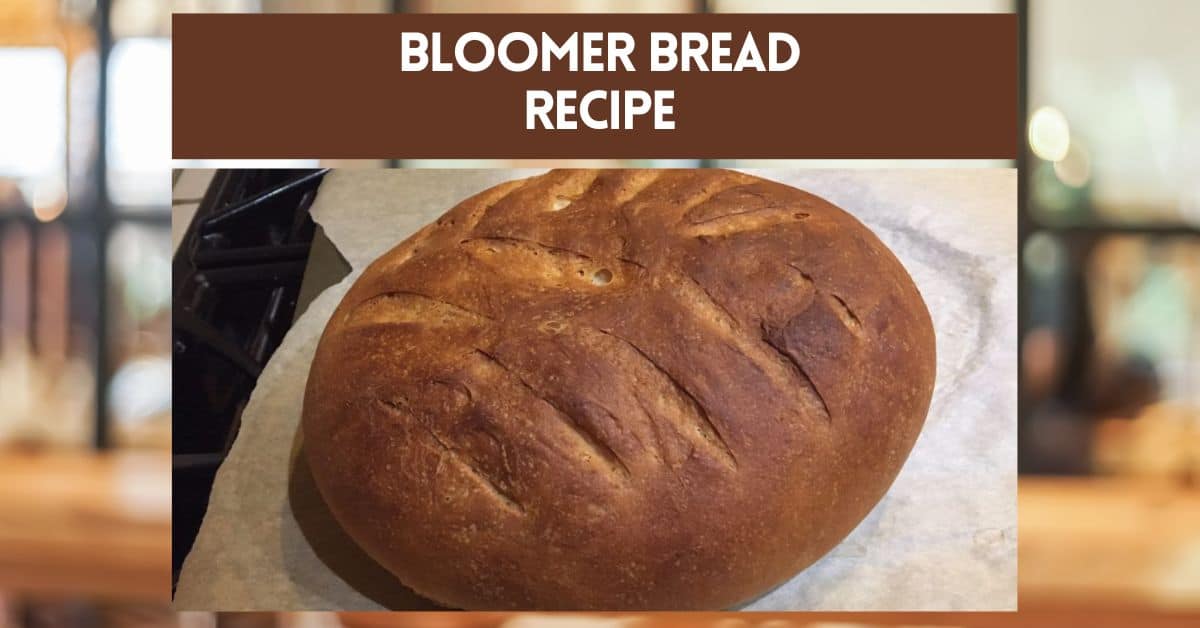
What is Bloomer Bread
Bloomer bread is a simple-to-make crusty loaf of bread. It’s usually a baton-shaped loaf perfect for a bloomer sandwich, offering a hearty flavor. The ingredients are simple – flour, water, salt, oil, and yeast combine to form a light dough. The dough is then shaped into a round loaf, sprinkled with extra flour on top for decoration, and baked in the oven until golden brown.
The result is a crusty, chewy bread that’s flavorful and perfect for sandwiches or toast. Bloomer bread pairs perfectly with savory spreads like butter, cream cheese, and jam.
Where does Bloomer Bread get its name?
Bloomer Bread is a popular English style bread. Some believe that the name of the English Bloomer derives from the nature of the loaf, which “blooms” and expands during the baking process.
For a traditional bloomer bread, you’ll bake it without a bread tin. However, we sometimes use a bread pan instead of a cloche to hold the shape of the bread. Most often, it is formed in a baton shape with rounded ends. The bread develops a nice thick crust during baking, and the inside is light and airy.
Bloomer Bread Ingredients Information
The ingredients for this bloomer recipe are straightforward. That makes it a great bread recipe for beginning bakers. And when we need a loaf at home in a hurry, this is typically the loaf we bake.
Flour: Our main flour is bread flour. You can also use all-purpose flour. You can experiment with only a single base flour or add a second flour for some added complexity, as noted in this recipe.
Salt: The proportion of salt in this recipe should be just enough to give the bread a slightly robust flavor.
Olive Oil: Adding oil to this recipe helps the bread achieve its soft inside and develop a crispy crust.
Yeast: We use SAF active dry yeast for baking this bread. It’s readily available, and you can store yours in the refrigerator to help keep its shelf life.
Water: We usually use bottled or filtered water when baking our breads. You should warm the water slightly to help the yeast – or otherwise, a nice room temperature water will work fine too. You don’t want the water to be so hot that it kills the yeast.
Proofing Your Bloomer Bread
It’s important to watch the rise and proofing time of your dough. If you don’t give the dough enough time, the rise will be minimal, and the texture will be tight. It can become flat if you wait too long to bake your bread.
As environments play a role in proofing time, we suggest using our recipe as an initial guide and then adjusting the time based on your results.
Shape Your Bloomer Bread
We’ve made this bread as a rounded dough baked in a cloche and a loaf formed in a 9-inch by 5-inch bread pan. Other people make their Bloomer Breads by elongating the dough and rounding the edges before baking. It’s a versatile dough that you can shape in numerous ways. Mostly, we use the bread pan approach as it makes for a nice sandwich bread.
Bloomer Bread Recipe
Bloomer Bread
Recipe for a loaf of Bloomer Bread
Ingredients
- 400g Bread Flour
- 100g Whole Wheat Flour or Rye Flour
- 1 1/2 Teaspoons Salt
- 7g Instant Yeast (about 2 teaspoons)
- 3 Tablespoons Olive Oil
- 360ml Water
Instructions
- Before combining the ingredients, boil some water in a kettle to yield 2 cups of boiled water. This is in addition to the 350ml of water in the ingredients list. You will use this extra water to create steam for the bread to rise in your oven before baking.
- Combine the bread flour, salt, and instant yeast in a large bowl. Add the olive oil and 350ml of room-temperature or slightly warmed water. Mix the ingredients with your hands until a soft dough forms.
- On a clean work surface, sprinkle some flour. Place the dough on the work surface and knead for about five minutes until the dough becomes silky. Place the dough into a lightly oiled bowl, cover with a tea towel, and let rise for at least one hour in an unheated oven. Place the still-warm boiled water in a 2-cup Pyrex container in the oven to create a steam environment for the dough while it rises.
- After the dough rises for one hour, remove it from the oven and place it on a lightly floured surface. Fold the ends inwards on each other, pressing down to release air from the dough. Repeat several times.
- Shape the dough by flattening it into a rectangular shape. Fold each shorter end toward the middle and flip over so the seam side is on the bottom. Cover with a cloth and let the dough rise for another hour.
- After the previous rise, place the dough into a proofing basket for 40 minutes to one hour. This step should be OK at room temperature unless the weather is too cold. Avoid over-proofing the dough, as it will spread out too much when you bake it and get flat. Test the dough by poking a finger into it. If it springs back quickly, it’s not yet ready. If the dough bounces back slowly and leaves a slight indent, it is ready to bake.
- Preheat the oven to 425F. Once the oven reaches the target temperature, score the dough with a razor blade or sharp knife and brush lightly with water.
- The next step is to bake the bread. Cover the dough onto your cloche, place it into a 9x5 inch bread tin, and put it in the oven. Optional: To create additional steam during the baking process, add water in a baking tray on the oven's bottom shelf or on the oven's side in an oven-proof ramekin.
- Bake the bread for 25 minutes at 425F, ideally in a covered cloche. After 25 minutes, remove the top of the cloche and continue baking for another 20 minutes. At this point, if baking in a bread tin, you might tent the bread with some foil to keep it from getting much darker on top.
- When baking is done, open the oven door to remove the bread from the oven. Let it cool on a wire rack.

Serving Recommendation for Bloomer Bread
This Bloomer Bread Recipe will make a crusty bread on the outside and soft on the inside. It’s an easy homemade bread for your baking repertoire. Cut slightly thicker than typical store-bought bread for your bloomer bread sandwich. For a Barker Tea Room type of sandwich, consider these combinations:
- Chicken tarragon with lemon zest and mayo
- Jackfruit (prepared in faux pulled-pork style)
- Falafel
- Hummus, black olive, and sun-dried tomatoes
- Smoked ham and cheddar
- Smoked salmon and cream cheese
#bloomer #bread #recipe
Recommended Products
Emile Henry Bread Cloche

SAINT GERMAIN Premium Hand Crafted Bread Lame for Dough Scoring Knife, Tool Sourdough Slashing with 10 Blades Included Replacement Authentic Leather Protector Cover

7 Comments
Comments are closed.